I get a lot of requests for a family tree tutorial, I've been making them for a while and I actually love making them, they're fun! I'm using Photoshop CS5 in this tutorial, I will do one with GIMP later on but it's not a lot different from GIMP so this tutorial should be helpful for GIMP users too.
You don't have to add all of the extras like the gradient on the font and border around the picture if you don't want to, I like to so I decided to show how I do that.
One thing that is very important when making a family tree... organization.
 |
| This is the inside of my family tree folder, each Sim from each generation are in their own folder. |
 |
| And this is what the inside of each folder for each generation looks like, organizing it before doing anything else helps SO much. |
Now I want to show you what tools you will be using before getting into the tutorial so you will know where each tool is.
 |
#1: Layer Box
#2: Effects for text and other things
#3: Rectangular Marquee
#4: Move Tool
#5: Text Tool
#6: Brush Tool
#7: Paint Bucket Tool
Tip: To zoom press Alt while scrolling with your mouse wheel. |
 |
Now we get into the tutorial!
The first thing you want to do is crop your images for the family tree, so if you picked and organized your images before starting it should be quick and easy.
Press File, then Open. Go to the folder your pictures are in and select all of them, then open. Repeat this step for each folder. |
 |
| All of your images should show up on the little bar up top. |
 |
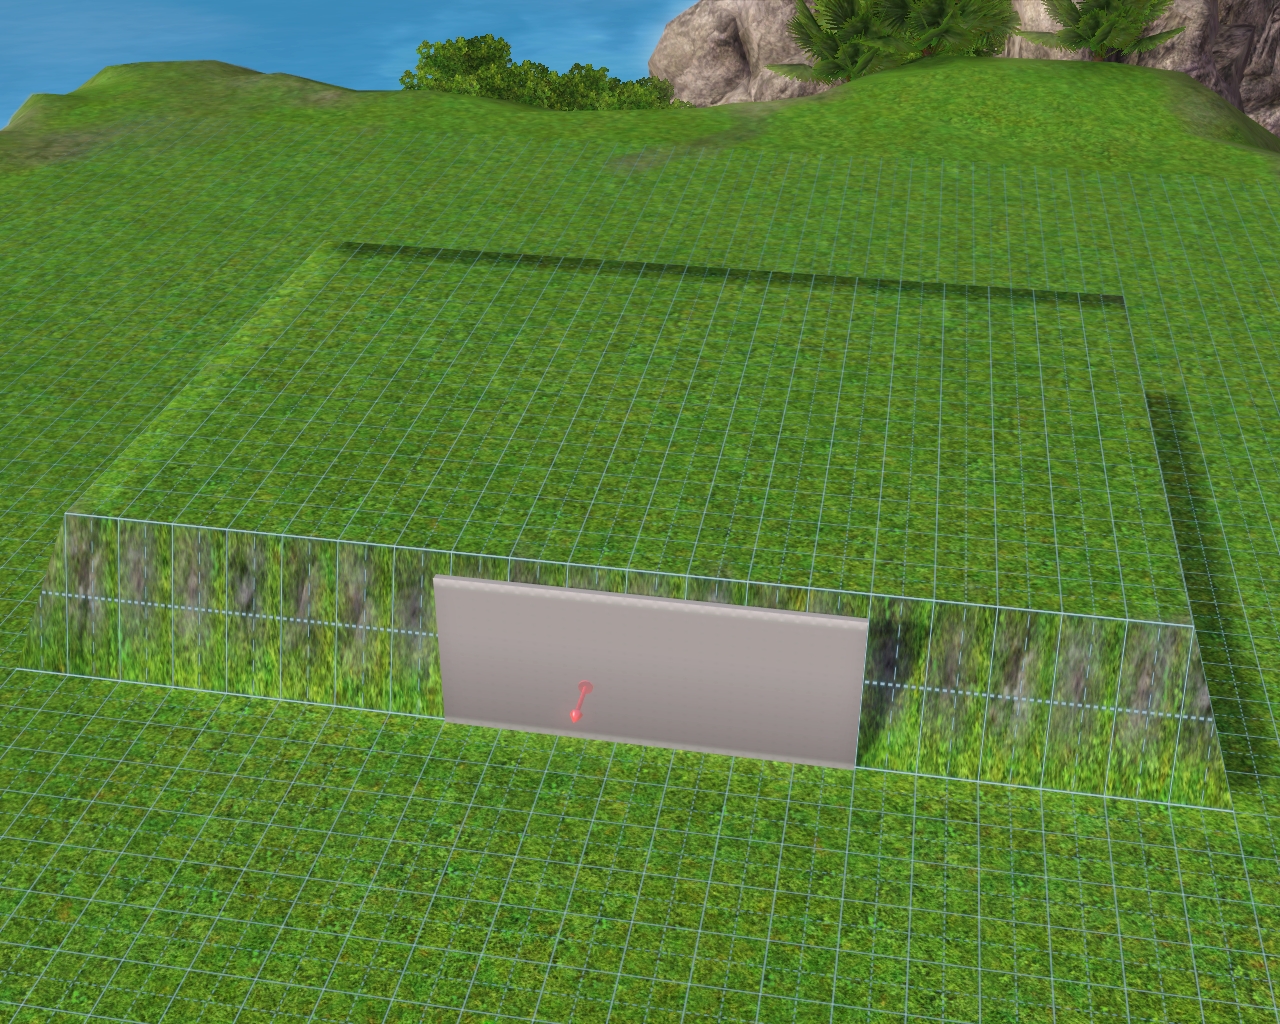
Select the rectangular marquee tool and crop around the face, to crop just click and drag (like building a wall in your game).
After doing that you should get a square around the face, go to Image and then Crop. |
 |
Your image should look like this after cropping.
Next you want to scale the image, you do this because you want all of the images on the family tree to be the same size.
Go to Image, then Image Size.
|
 |
This box should pop up.
You want the width and height to be the same, uncheck Constrain Proportions before changing the size because it will automatically scale the sizes different.
Now you can change the width and height, I do 300x300 because I think it looks the best but you can do whatever size you want. Click OK when done and repeat those steps with every image, yes... every. single. image.
|
 |
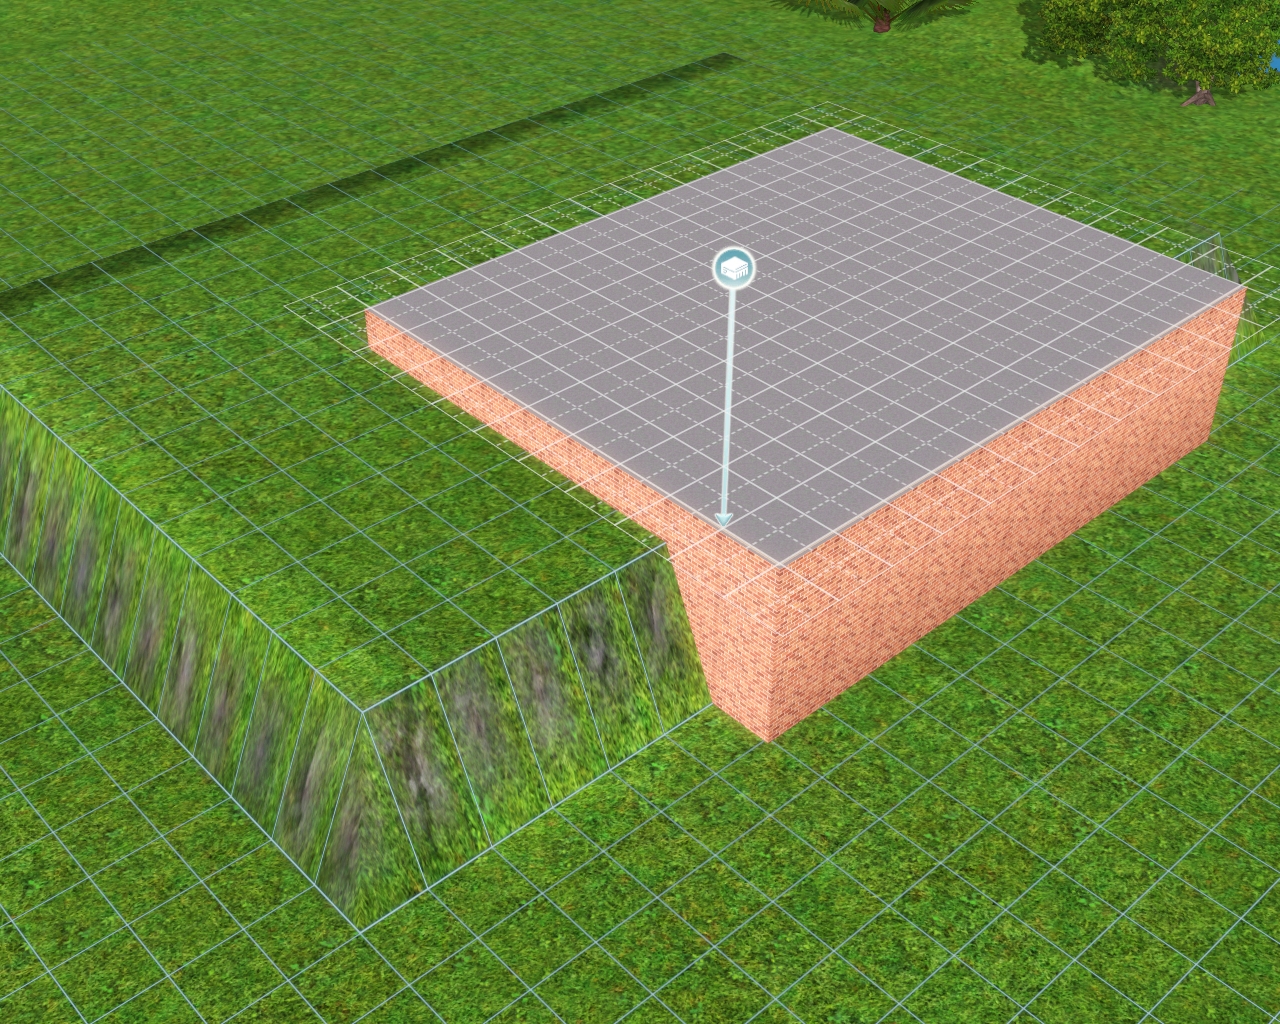
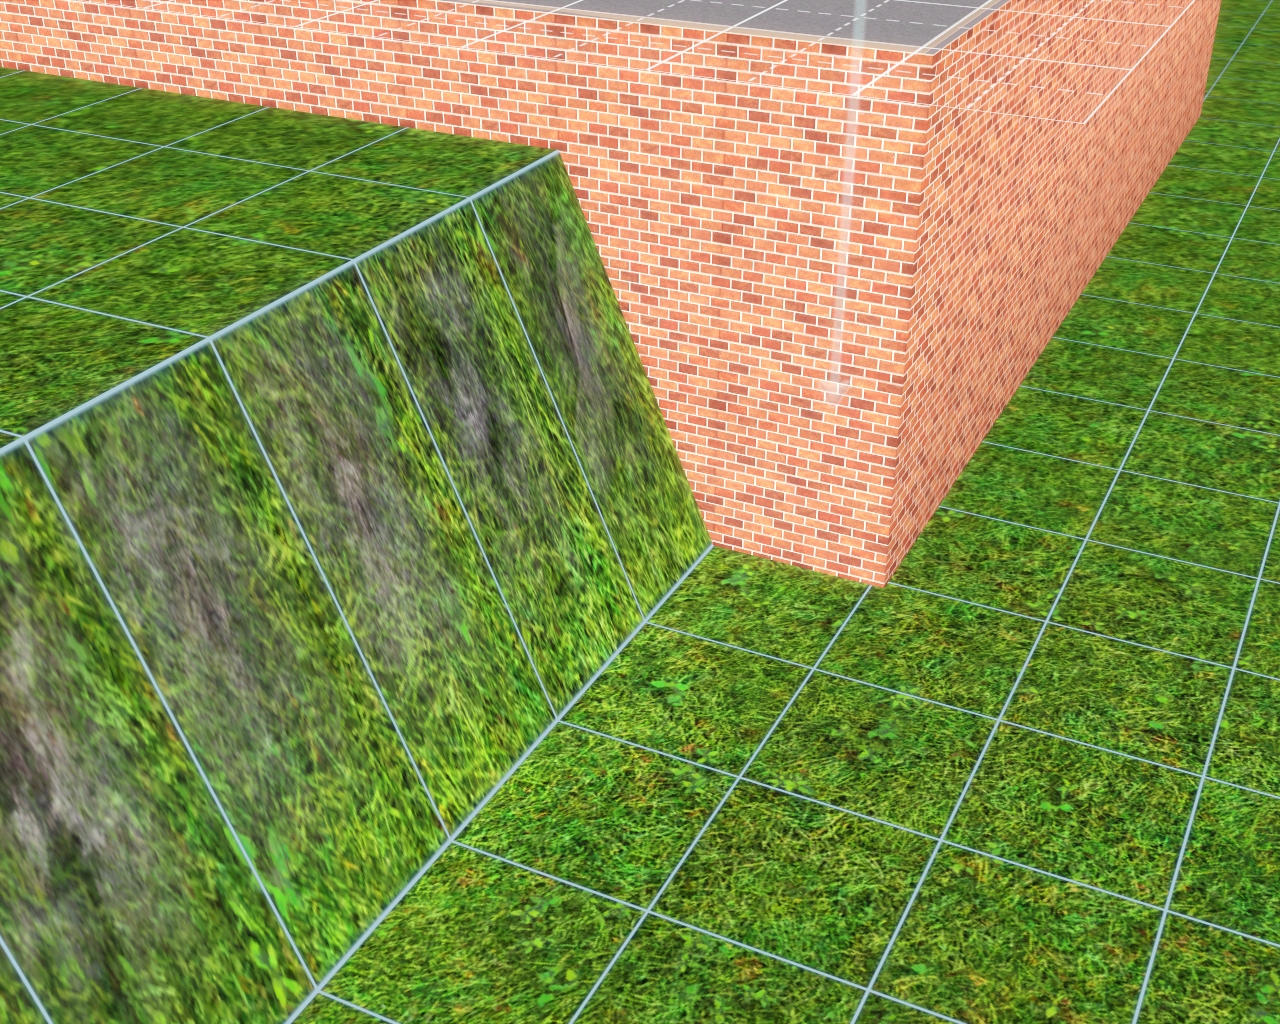
| After scaling your images you can get started! You need a blank image to put all of your scaled images on, open Photoshop and click File and New and then enter your image size, I have to have a huge image for my family tree since I have so many Sims but you can probably start out with a 3000x3000 image, after doing that it should look like this. |
 |
| Now you can finally add all of your scaled images. To do this go to File and then Place, locate your folder with your images and open it, repeat that step for every folder. |
 |
| All of the images should show up like this in the layer box. |
 |
Now you want to arrange your images, there's two different ways to do this.
#1: Select the Move tool, right click on an image, select the image name and then you can move it all over the place.
#2: Select the Move tool, click on the image name in the Layer Box and then you can move it. |
 |
| After arranging your images it's time to add a frame around them (only if you want to), select an image and look below your layer box and click the effects option, then in the box that pops select Blending Options. |
 |
This box should pop up.
Select Stroke and pick the color you want and the size of the frame, I do 13px and use white for most of the frames, click OK when done. |
 |
| It should look like this below the image. |
 |
| And the image should look like this. |
 |
Now I will show you the quick and easy way to add frames to all of the other pictures.
Right click on the effects box under the image (the one I just showed above), select Copy Layer Style. |
 |
| Click on the next image in the layer box, then right click on the image. This box should pop up, select Paste Layer Style. |
 |
| Repeat that step on every image and when you're done your image should look like this! |
 |
| After you've done all of that it's time to flatten your image, select Layer and then Flatten Image all the way at the bottom. |
 |
| Now you can add text! Select the text tool and add your text, after you do that, look over at the layer box and select your text box, right click and select Blending Options. |
 |
I always add Drop Shadow, Stroke, and Gradient Overlay, you can play with each option and see what you like the most.
To change the colors on the gradient overlay click on the color box. |
 |
| After you click on the color box this should pop up, to change the color click on the little color boxes (you can only click one at a time) and you can click beside them to add more colors and you can also move the boxes around. |
 |
| After clicking on the color box another box should pop up, click this box and pick your color, select OK when done. |
 |
| After you're done, your text should look like this. |
 |
| Remember when you copied the layer style for the frame around the images? You can do the same with the text, so just follow those same two steps to copy it to each text. |
 |
| After doing that, your image should look like this! |
 |
Now for the final step... adding the lines! There's two different ways to do this, I'm going to show both.
The first way to do it is using the brush tool, select the brush tool and choose your brush and size. |
 |
After picking your brush size you can click where you want your line to start, press the Shift key and drag across.
The shift key keeps the line straight. |
 |
Here is the second way and the way I prefer.
Select the rectangular marquee tool, drag it and create a box where you want your line to be. |
 |
| After placing your line box, select the Paint Bucket tool, pick your color and fill the line box, now right click on the image and select Deselect. |
 |
Repeat that step for every area that you want a line.
Now go to File and select Save As, name your picture and save it and you're done!
That seems complicated, right? It's not really, after you've done it a few times you will realize how easy it is. |