This tutorial was requested on my page, there's not much to my photo shoots, most of the work is done after I take the pictures.
I will be using Photoshop CS5 in this tutorial, you can also use GIMP but the process will be different.
The first thing you want to do is download this backdrop or you can just paint the walls and floor the same color, I prefer the backdrop. You can use pose player or animations in the game, I will be using poses.
 |
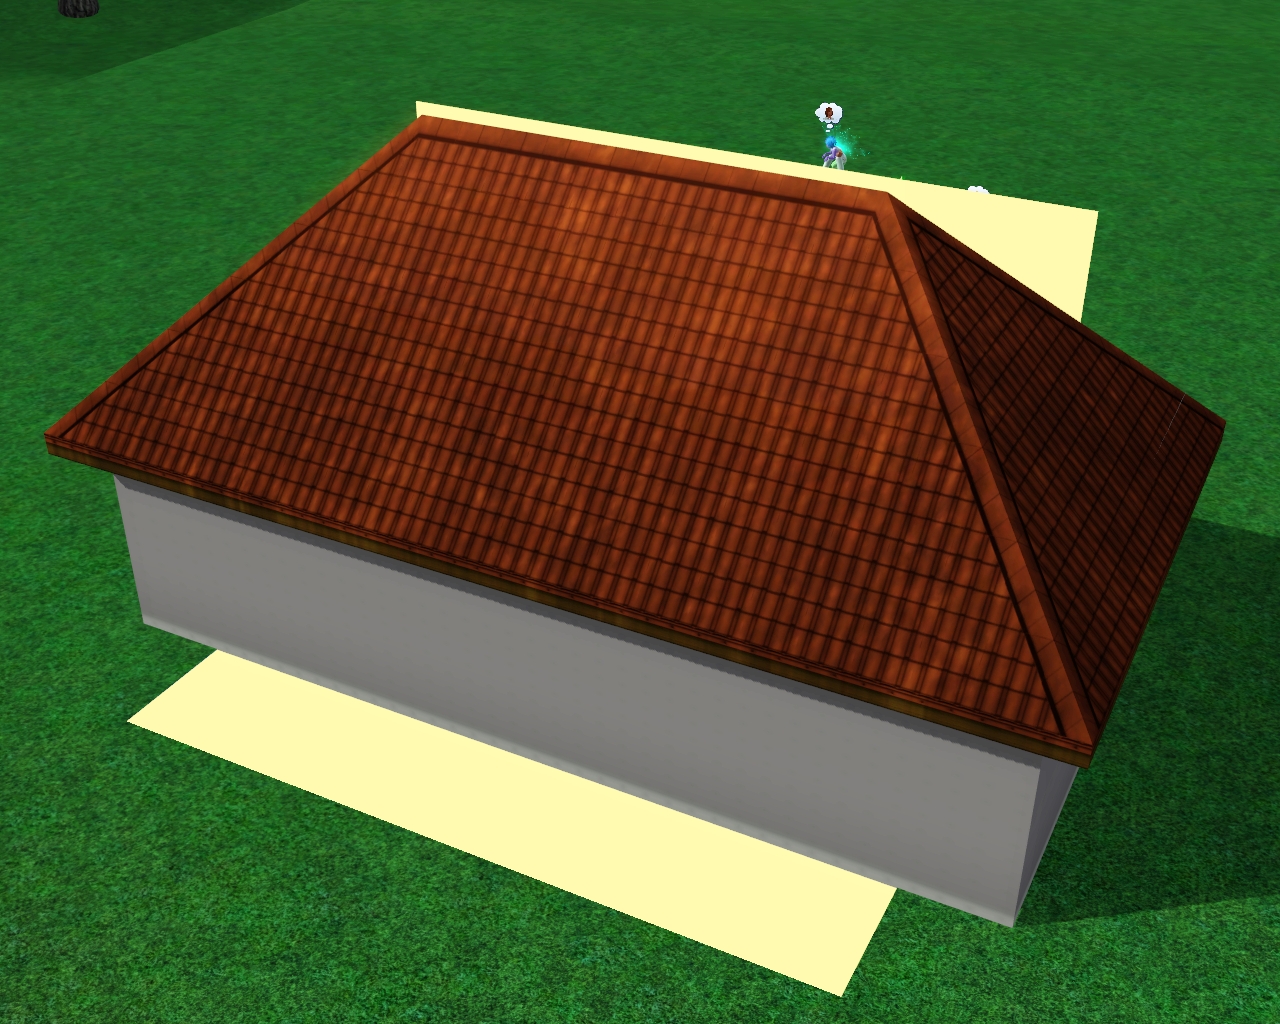
Open your game and go to an empty lot with the Sim/Sims you want to take pictures of, build a square room with a roof and place the backdrop or walls and floors.
This is what it should look like if you are using the backdrop.
Now you need to place lights, I use the small outdoor lights for children and pets, I like to use the larger floor lamps for children-elders.
I'm using toddlers for this tutorial, once you have your lights and backdrop ready you can add and place your Sims. You can use the moveobjects cheat to place your Sims, place them and take all of the pictures you would like to take and then you're done! I don't spend much time in game, most of my work is editing.
Now it's time to edit!
The first thing I do is duplicate the layer, you can do that by right clicking the layer in the layer box (located in the bottom right corner) and selecting 'duplicate layer'.
Next I go to Image>Adjustments>Brightness/Contrast and adjust the brightness, I usually set it at 40-50% but it depends on your image, it can vary depending on how light/dark your image from game is, make it a little lighter than you would like.
Now go back to the layer box, see how 'Layer 0' is underneath Background copy? Grab and move Layer 0 above Background copy.
Now your image should be dark again since you have your original image on top of your edited image. Do you see the tiny opacity box above your layers? It's directly on top, click on that and adjust the opacity until you get the brightness you would like on your image, again it depends on each individual image but I usually set mine at 25%.
Now for the final step! Go to Layer and all the way at the bottom select 'Flatten Image' and you're ready to save, to save go to File and then select 'Save As' and you can name your image and save.
All done! I don't do much to my photo shoot pictures, I just like to add brightness and you can play around with other effects under the Image>Adjustments tab, sometimes I add vibrance and contrast. |


No comments:
Post a Comment